We joined the resin basic class on two saturday mornings (18. und 25. september 2021) at ‘Schreinerei Eltschinger’. The official details/description of the class and price can be taken from Selfmaker.ch.
I will not give a full written step by step description what the class was all about but want to share some impressions how we build the lamps and how they finally looked like.
The lamp is generally assempled out of four side pieces. To create the side pieces we had to create the molds first which are shown in the following picture.
| Mold creation |
|---|
 |
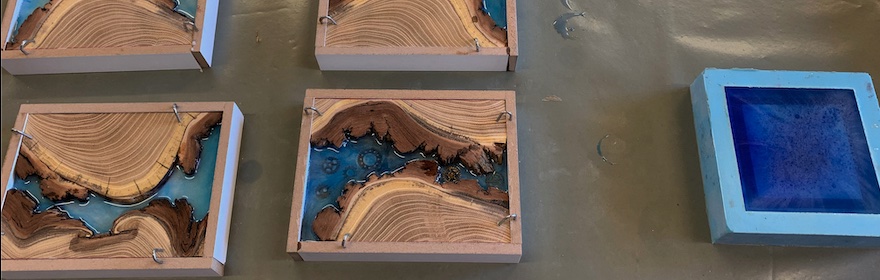
The next step to fit some wood pieces into the molds. We were cutting and arranging them depending on personal taste.
| Fit the wood pieces in | |
|---|---|
 |
 |
After fitting the pieces in and fixing them into the molds we added the resin.
| Add the resin | |
|---|---|
 |
 |
After some curing the molds were filled up with transparent resin and cured one week before we removed from the molds the weekend after.
| Removing the boards from the molds | |
|---|---|
 |
 |
After removing the boards from the molds we cut miters on the edges of the boards and glued them together.
| Glueing the boards together |
|---|
 |
We glued a lid on the top of the lamp before we started the the sanding.
| Glueing a lid on |
|---|
 |
After endless sanding with multiple sanders and sand paper grits and a final coat of surface finish the lamp looks as shown in the pictures below.
| The finished lamp | |
|---|---|
 |
 |
A wonderful result at the end of an inspiring and interesting resin class. I can strongly recommend the classes at Selfmaker.ch. This blogposts intention is not to substitute the participation of the class itself but should give a quick overview what we did and show you the results of the Resin basic class and make it easier for you to just subscribe for the class yourself.